EzCAD 2 Hatching Guide: Deep Laser Engraving & Cleaning Settings
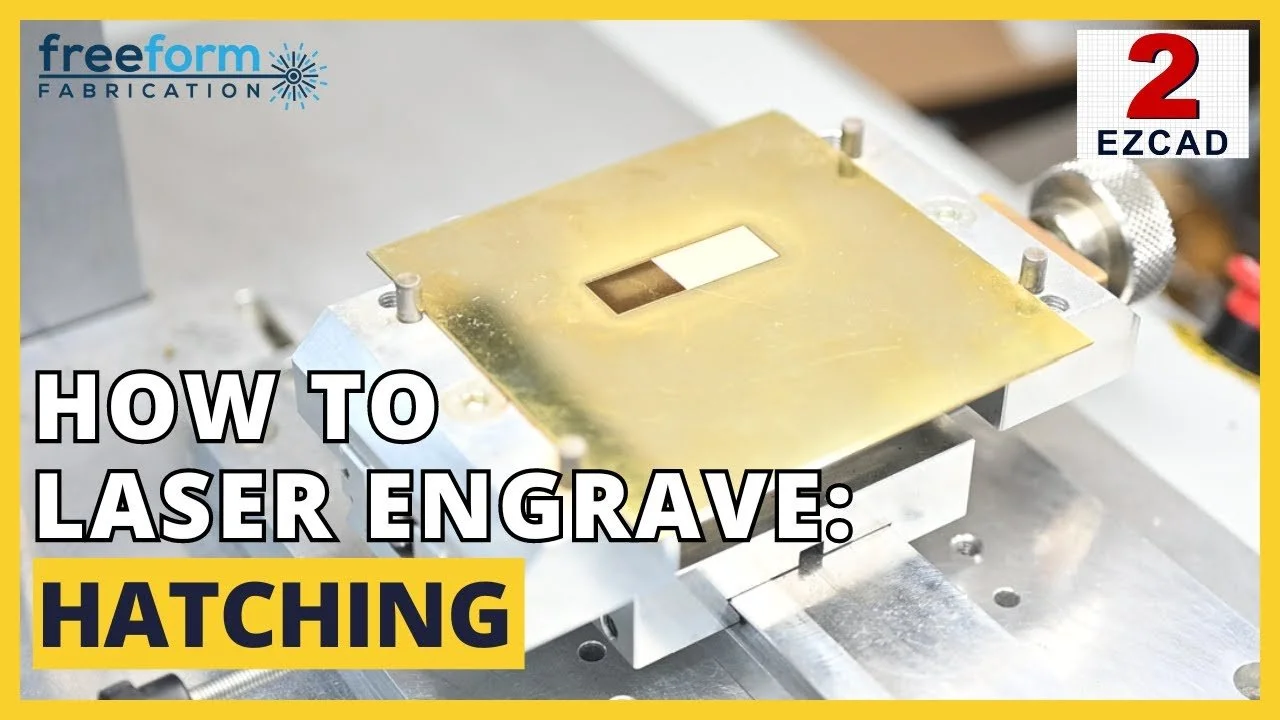
When drawing shapes or text in EzCAD 2, pressing 'Mark' without proper preparation will only score an outline. To achieve the rich, deep engraving required for professional jewellery and metalwork, you must apply hatching. This guide details the essential EzCAD 2 hatch parameters—from line spacing to continuous ring engraving setups—without getting lost in complex menus.
Understanding Hatch One and Hatch Two (Deep Engraving & Cleaning)
Open the hatch menu by clicking the H icon on the top menu bar. For best results, enable both Hatch 1 and Hatch 2 simultaneously so the cleaning cycle executes automatically after the deep engraving pass:
Hatch One (Deep Engraving): Controls the primary depth-creating passes. Select the pen number corresponding to your specific metal alloy (such as gold, silver, platinum, brass, or steel).
Hatch Two (Cleaning Pass): Operates at high speed, high frequency, and low power. It removes dark carbon oxide residue without adding additional depth. Always assign Hatch 2 to Pen 11.
Matching Parameters: Ensure Hatch 2 matches Hatch 1's geometry settings (especially cross-hatch) so the cleaning beam accurately follows the engraved path.
2. Line Spacing, Cross-Hatch, and Depth Control
Fine-tuning line density and pass count determines the final finish and depth of your mark:
Line Spacing: A spacing of 0.02mm is ideal for standard jewellery engraving. Going tighter increases process time without providing visible detail gains.
Cross-Hatch: Directs the laser to pass bi-directionally across the graphic, eliminating visible directional striping in the finished bottom.
Count (Depth): Controls the number of engraving loops. Highly polished items require fewer counts, whereas raw castings need a minimum starting count of 5 passes. Inspect depth by eye before removing the item from your clamp or rotary jig.
3. Advanced Options: All Cal, Follow Edge & Ring Engraving
All Cal, Follow Edge, and Mark Contour
All Cal processes all vector objects in a single continuous wipe rather than letter-by-letter, saving processing time on multi-item sample sheets. (Do not use All Cal for individual ring or flat name jobs). Follow Edge and Mark Contour add defining border lines after each count for crisp edge definition.
Optimal Setup for Continuous Ring Engraving
To eliminate unwanted seams on 360-degree continuous ring jobs, apply these specific parameter changes to both Hatch 1 and Hatch 2:
Disable All Cal and disable Cross-Hatch.
Rotate the hatch angle so lines run vertically (up and down) to align with the physical rotation axis.
Set the hatch type so the laser fires strictly along the hatch lines and remains off during travel jumps.
Frequently Asked Questions
-
Hatching fills outlines with closely spaced lines for the laser to follow, converting a simple outline into a solid, deep engraving.
-
A line spacing of 0.02mm is recommended for most jewellery applications, yielding smooth finishes without unnecessary cycle time.
-
The cleaning pass usually fails when Hatch 2's parameters (specifically cross-hatch settings) do not mirror Hatch 1, causing the cleaning beam to misalign with the engraved recess.
-
Turn off All Cal and cross-hatch, align the hatch lines vertically, and select the hatch type that only fires the laser along active line paths.
Laser Engravers Guides & Resources