Laser Engraving & Cutting Brass Pendants: EzCAD 2 Artwork & APEX 50 Guide
Creating custom metal jewellery requires mastering both deep relief engraving and vector profile cutting. In this step-by-step project guide using the APEX 50 laser engraver and EzCAD 2 software, Freeform Fabrication's product specialist Matt demonstrates how to troubleshoot complex vector hatching, design recessed backgrounds, and slice through 2mm brass plate.
Preparing Artwork & Troubleshooting Complex Hatch Errors
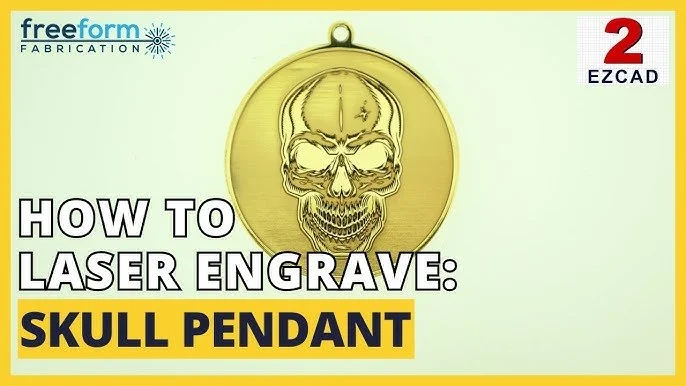
When sourcing detailed stock artwork (such as intricate skull vectors or filigree graphics), standard hatching settings can occasionally cause visual errors in EzCAD 2:
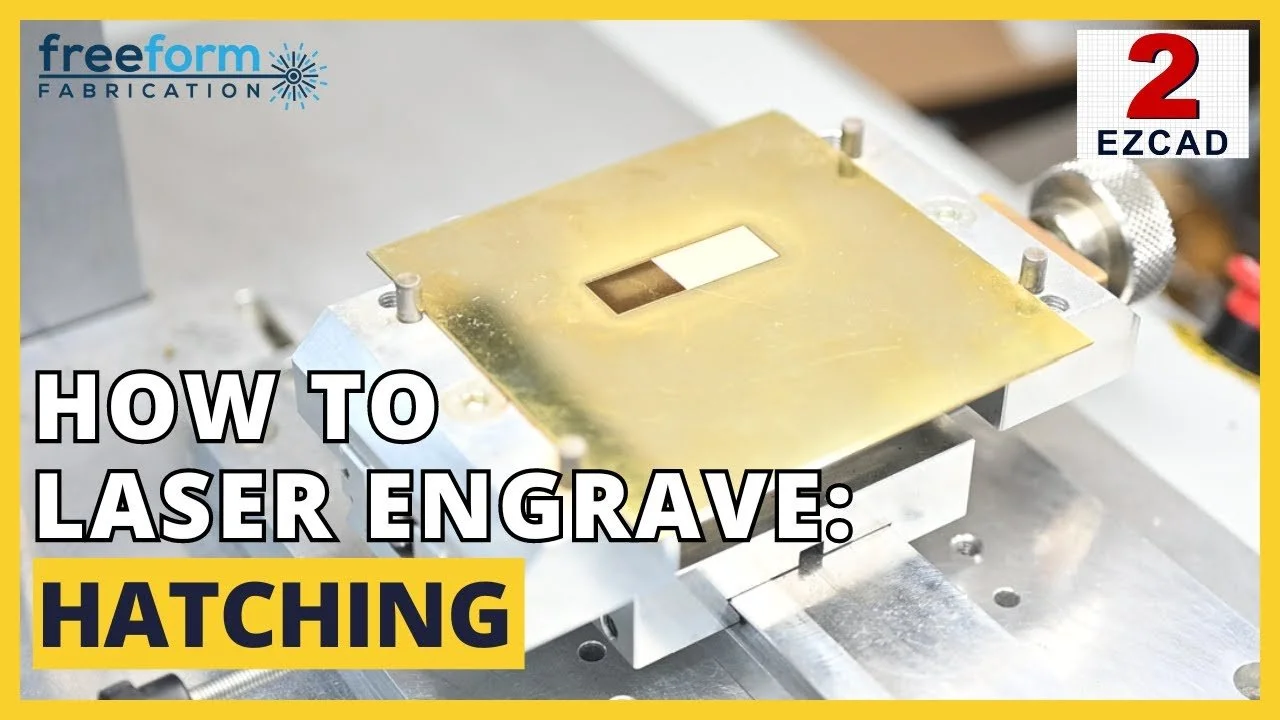
Preview Before Marking: Always select your vector group and run a hatch preview before sending the job to the engraver to identify overlapping nodes or missing fills.
Disable Cross-Hatch on Fine Detail: Extremely complex vector paths can confuse the renderer when cross-hatching is enabled. Toggling cross-hatch off often resolves missing geometry.
Turn Off 'All Cal': Forcing the laser software to process dense artwork in a single continuous wipe can stall the calculation engine. Disabling All Cal allows the software to tackle complex paths cleanly.
2. Designing Recessed Backgrounds & Bale Loops
To produce a striking 3D emblem where the design stands out in high relief against a deeply engraved field, structure your geometry carefully:
Inverted Background Hatching: Create an internal border circle around the design element. Select the artwork and the inner circle together (excluding the outer cutting boundary) before applying the hatch. This ensures the background is deeply carved away while the design motif and border remain raised.
Constructing Bale Loops: Draw inner and outer circles for the pendant loop, use the alignment controls (holding Ctrl locks the movement axis) to align the loop to the top, and join the vectors using the plastic weld tool.
3. Cutting Parameters for 2mm Brass & Depth Setup
Slicing through thick non-ferrous sheet metal like 2mm brass requires distinct power and beam dynamics compared to standard surface marking:
Deep Relief Depth Settings: For a 0.5mm deep recessed background, set 50 counts with cross-hatch enabled (equivalent to 100 actual laser passes). Deep metal removal requires extended run times, so plan for longer machine cycles.
Cutting Settings (2mm Brass): Utilize 100% Power, a lower velocity (slower speed increases dwell time on the metal), and a frequency around 40 kHz.
The Power of 'Wobble': Activate the Wobble feature for cutting profiles. Wobble oscillates the laser beam in tiny circular motions (similar to a router bit) to clear a wide channel. A diameter of 0.12mm and distance of 0.05mm delivers a fast, reliable cut through 2mm brass.
Material Alignment: Use the Show Contour red-light preview to verify exact placement on the sheet corner before pressing 'Mark', ensuring zero metal waste.
Frequently Asked Questions
-
This walkthrough utilizes the APEX 50 laser engraver running EzCAD 2 software.
-
Yes. By enabling the Wobble function and applying a slow-speed, high-power profile, the APEX 50 can cleanly cut through 2mm brass plate and other precious metal sheets.
-
Complex stock vectors with overlapping nodes often cause software errors during hatching. Disabling cross-hatch and turning off the 'All Cal' feature typically resolves these rendering glitches.
-
Wobble moves the laser beam in small micro-circles along the cut line rather than moving in a straight line, creating a wider kerf that allows the beam to penetrate deeper through thick metal without binding.
Laser Engravers Guides & Resources