How to Reset the EzCAD 2 Workspace Area After Ring Engraving
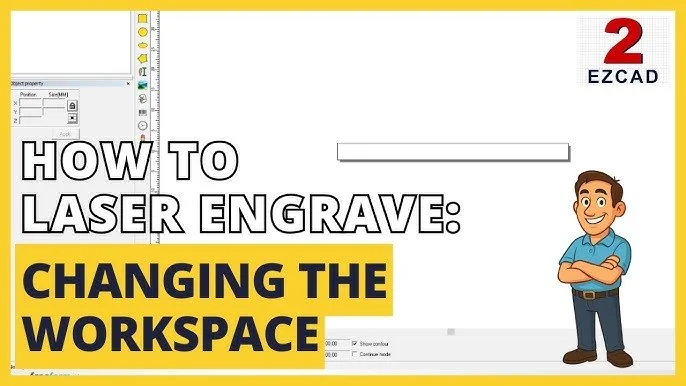
When completing a rotary ring engraving job in EzCAD 2, the software automatically shrinks the onscreen workspace box to match the exact circumference and width of the ring band. While this feature provides an accurate visual layout for rotary jobs, it restricts your view when transitioning back to flat item marking. This quick guide details how to restore your default 100 x 100mm engraving grid in seconds.
1. Why EzCAD 2 Resizes the Workspace for Rotary Work
During ring engraving, EzCAD 2 adjusts the workspace dimensions to match the unwrapped surface area of the band. This allows operators to align graphics, hallmarking symbols, or text across the exact length and height of the ring. However, once the rotary attachment is disconnected, the reduced bounding box remains active and must be reset before marking flat pendants, tags, or larger metal plates.
2. Step-by-Step Workspace Reset Procedure
To restore your software workspace to the maximum physical marking field of your laser engraver (100 x 100mm), follow this simple menu path:
Open the top menu bar and navigate to File > System Parameter > Workspace.
Locate the Field Center / Corner Position fields. Set both the X-axis and Y-axis bottom-left coordinates to -50.
Locate the Field Size fields. Enter 100 for both X and Y dimensions.
Click OK to confirm. The grid display will instantly expand back to the standard 10 x 10cm marking boundary.
3. Key Parameters at a Glance
Keep these standard field values handy for fast switching between job types:
Maximum Marking Field: 100mm x 100mm (10cm x 10cm).
X / Y Offset: -50mm / -50mm.
Menu Shortcut: File > System Parameter > Workspace.
Frequently Asked Questions
-
The maximum default marking field is 100 x 100mm (10 x 10cm), representing the largest area the laser galvo scanner can accurately mark in a single job.
-
EzCAD 2 automatically scales the onscreen boundary box to reflect the flat unfolded surface dimensions of the ring band to help you align artwork accurately.
-
Go to File > System Parameter > Workspace, set both X and Y bottom-left offsets to -50, and set both width and height dimensions to 100.
Laser Engravers Guides & Resources